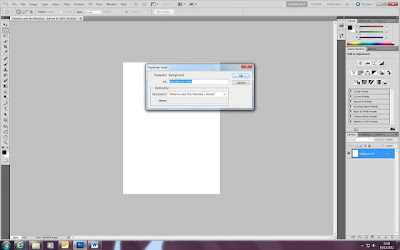
Next thing I did was to copy the background incase I made any mistakes I could simply delete that background with my orignal still intact.
Next I changed the 'background copy' to black but kept the orignal background white.
After changing the background to black, I added the bands name at the top of the canvas. I changed the font to our chosen font which is Edwardian Script ITC and change the colour to white, the size is 48 PT and set the anti-aliasing method to strong.
Next I added the title 'Presents' and I changed the font to our chosen font which is Edwardian Script ITC and change the colour to white, the size is 48 PT and set the anti-aliasing method to strong.
I added the title of the album which is 'Lungs' and changed the font to our chosen font which is Edwardian Script ITC and change the colour to white, the size is 48 PT and set the anti-aliasing method to strong.
I print screened a photo of candles and copied it into photoshop before changing the layer name to 'Candles'.
I added a 'dark shadows' that was located in the blending options to add a soft touch to the photograph.
I then added outer glow onto the picture because it reminded me of a picture frame which makes reference to our narrative.
Afterwards I changed the blend mode to 'Hard light', which darkened it and made it look more shadowed.
I then added the date in which the album was released orignally.
I added some information on the advert as has as well as the CD, you will receive live versions of the songs and a behind the scenes exclusive. I also offered a download on the song we chosen 'Cosmic love'.
Then I added a picture of Bronte in
and added a mask as her
background was going through the lines, so I masked it out. I had
orignally used the same opacity and fill as Thomas but decided against
it and changed her opacity
back to 100%.
I then saved it as a JPEG and added an 8 for image quality, the reason I
chose 8 so it looked high quality without taking a long time for the
images to load.
By Abbie Smith


No comments:
Post a Comment